🚀 Introduction
Repurposing old hardware is one of the best ways to get started with a homelab. In this guide, I’ll walk you through how I installed Proxmox Virtual Environment (VE) on an old Dell OptiPlex and turned it into a powerful virtualization server.
🖥️ Hardware Used
- Dell OptiPlex (old desktop)
- Intel CPU (with virtualization support)
- 8GB+ RAM (recommended)
- SSD (strongly recommended for performance)
- USB drive (for installation)
📥 Step 1: Download Proxmox VE
- Go to the official Proxmox website
- Download the latest ISO image
- Save it to your local machine
💿 Step 2: Create a Bootable USB
You can also use tools like:
- Rufus (Windows)
- balenaEtcher (cross-platform)
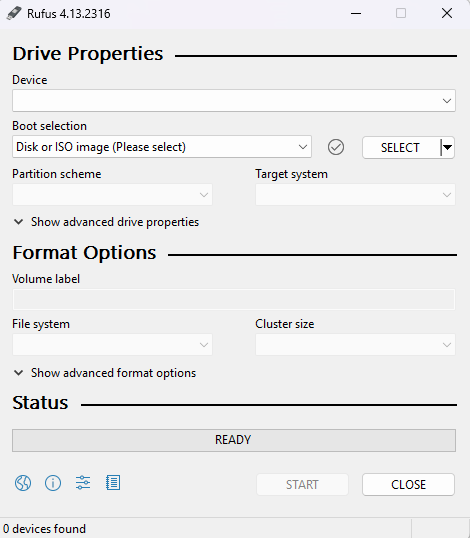
I have used rufus to create table drive for me
Steps:
- Insert USB drive
- Select Proxmox ISO
- Flash the image
- Safely eject the USB
⚙️ Step 3: Configure BIOS
Before installing:
- Boot into BIOS (usually
F2,DEL, orF12) - Enable:
- Intel VT-x / AMD-V (Virtualization)
- Set USB as the first boot device
🛠️ Step 4: Install Proxmox VE
- Boot from the USB
- Select Install Proxmox VE
- Accept the license agreement
- Choose the target disk (SSD recommended)
- Set:
- Country / Timezone
- Password (root)
- Email address
🌐 Step 5: Network Configuration
During installation, configure:
- Management IP address (static recommended)
- Gateway
- DNS server
Example:
IP Address: 192.168.1.100
Gateway: 192.168.1.1
DNS: 8.8.8.8
Please note down the ip address you will need it later to access your proxmox VE
🔐 Step 6: Configuring Proxmox
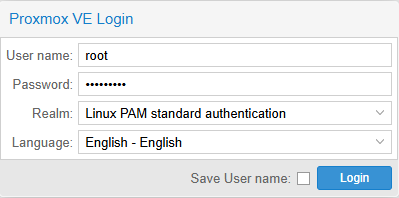
Once Proxmox is running on your server you need to go to another computer, open up a web browser and go to the IP address of your Proxmox server and the port 8006.
- Open a browser
- Navigate to:
https://<your-ip>:8006 example: https://192.168.1.100:8006 - login with
username:'root'
password:(the one you have set)
📦 Step 8: Creating Your First VM
Now that you logged in to the Proxmox web console, follow these steps to create a virtual machine.
- Make sure you have ISO images for installation mediums. Move to the resource tree on the left side of your GUI.
Select the server you are running and click on local (pve1). Select ISO Images from the menu and choose between uploading an image or downloading it from a URL.
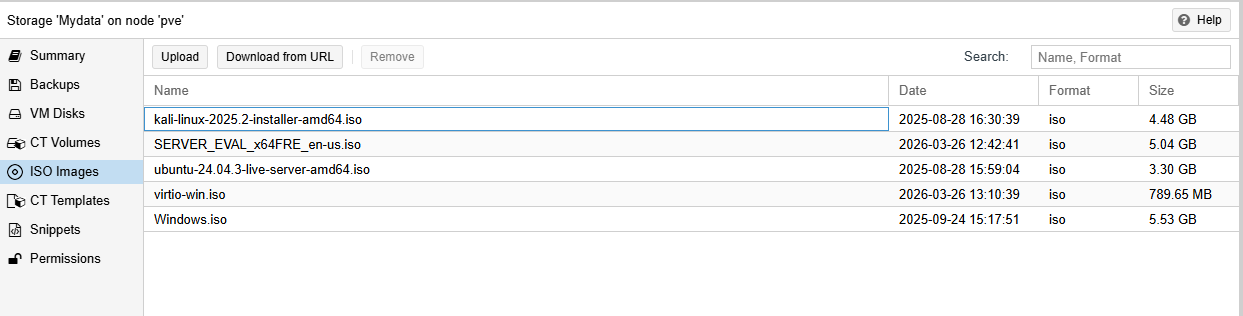 2. Once you have added an ISO image, spin up a virtual machine. Click the Create VM button.
3. Provide general information about the VM.
2. Once you have added an ISO image, spin up a virtual machine. Click the Create VM button.
3. Provide general information about the VM.
- Start by selecting the Node. If you are starting and have no nodes yet, Proxmox automatically selects node 1 (pve1).
- Provide a VM ID. Each resource has to have a unique ID.
- Finally, specify a name for the VM.
- Next, switch to the OS tab and select the ISO image you want for your VM. Define the OS Type and kernel Version. Click Next to continue.
- Modify system options (such as the Graphic card and SCSI controller) or leave the default settings.
- You can then configure the CPU, RAM, Storage and then the network settings for your VM
🧪 Optional: Create Containers (LXC)
Proxmox also supports lightweight containers: LXC containers are lightweight environments that share the host system’s kernel, unlike traditional VMs which emulate full hardware.
LXC containers are perfect for:
- Web servers (NGINX, Apache)
- DNS (Pi-hole, AdGuard)
- Home automation (Home Assistant)
- Lightweight databases
- Docker hosts
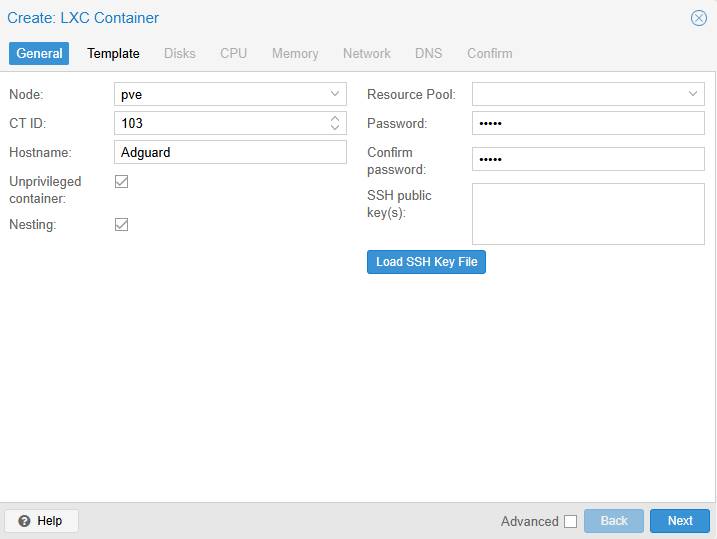
Steps to create a LXC container on proxmox are:
- Download a container template
- Click Create CT
- Configure resources such as storage, CPU configuration and Memory Configuration
- Review your settings and click Finish
📚 What You Can Do Next
- Host a home server (NAS, Plex, etc.)
- Run Docker via VM
- Set up a firewall (pfSense)
- Create a Kubernetes cluster
🎯 Conclusion
Setting up Proxmox on an old Dell OptiPlex is a fantastic way to build your own homelab without spending much money. It opens the door to virtualization, networking, and infrastructure learning—all from your home.
💬 Final Thoughts
If you have an old PC lying around, don’t let it collect dust. Turn it into a powerful lab environment and start experimenting!